
.jpg)
Treadmill Belt Pre-Treatment Process
The pre-treatment steps for a treadmill belt primarily include the following procedures:
1. Cleaning
First, use a clean cloth or cleaning agent to wipe off dirt, grease, sweat, and other contaminants from the surface of the treadmill belt. This ensures no adverse effects on the subsequent heat-sealing process.
2. Drying
After cleaning, place the treadmill belt in a well-ventilated area to air-dry naturally. Avoid using hot air blowers or rapid drying methods, as these may cause deformation or cracking of the belt.
3. Deburring
Inspect the belt surface for burrs, protrusions, or damages. If present, remove them using tools like sandpaper or a file to ensure the quality and effectiveness of the heat-sealing process.
4. Alignment
If the treadmill belt shows signs of twisting, deformation, or asymmetry, straighten and adjust it to ensure a flat and straight condition, which is critical for successful heat-sealing.
These pre-treatment steps effectively remove contaminants from the belt surface, preparing it for the subsequent heat-sealing process.
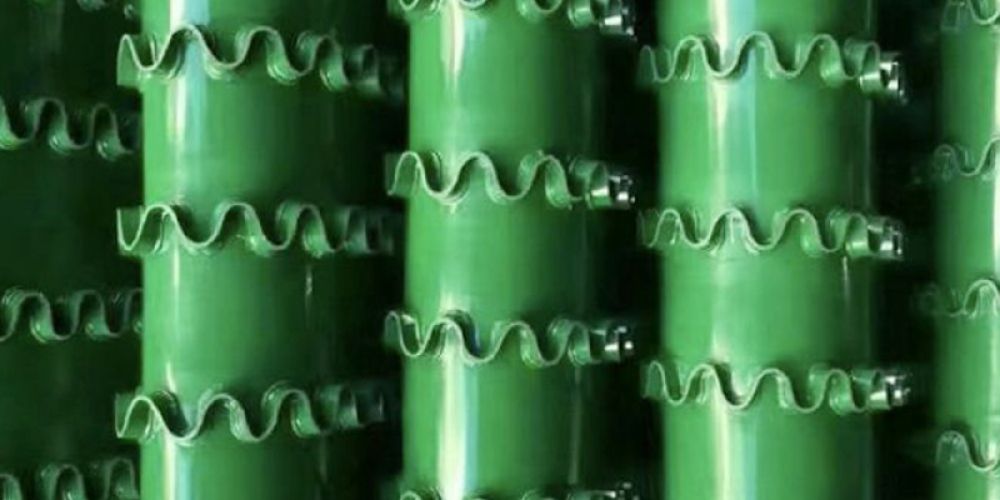
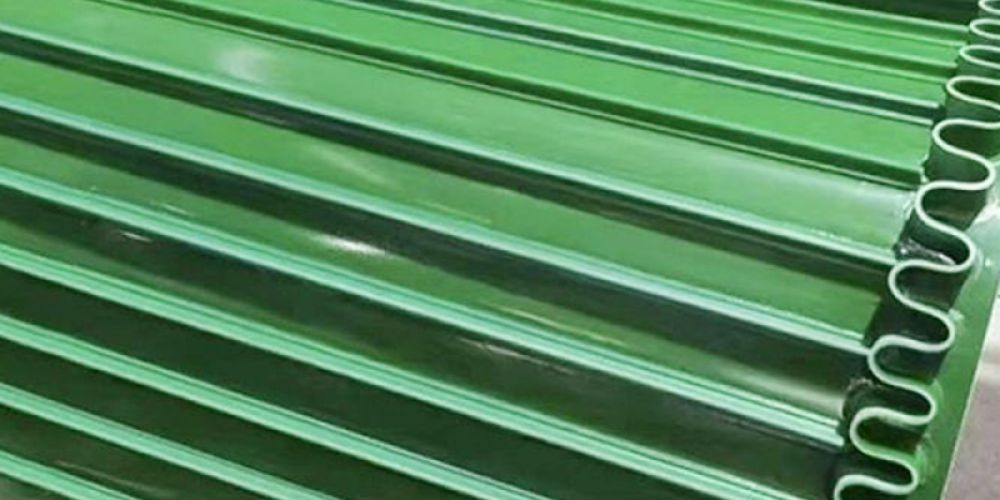
High-Frequency Heat-Sealing Process for Treadmill Belt Toothed Joints
This is a specialized process for sealing treadmill belt seams. Below are the detailed steps:
1. Pre-Treatment
Before heat-sealing the toothed joint, pre-treat the treadmill belt through cleaning, drying, and alignment to ensure joint quality and stability.
2. Fixation
Secure the treadmill belt onto the heat-sealing machine’s worktable, ensuring the toothed sections are properly aligned for sealing.
3. Heating
Use high-frequency electric heating principles to melt the toothed sections of the belt. Carefully control temperature and duration to avoid overheating, which could damage the belt or weaken the seal.
4. Pressure Application
While heating, apply pressure to fuse the toothed sections together. Adjust the pressure based on specific conditions to optimize sealing quality.
5. Cooling
After sealing, allow the belt to cool to room temperature. This stabilizes the heat-sealed joint and enhances its strength.
6. Inspection
Post-cooling, inspect the heat-sealed joint for quality and stability. Re-seal or repair any defects if detected.
7. Post-Processing
Finally, perform finishing steps such as trimming, polishing, and cleaning to ensure the belt’s appearance and performance meet standards.
.jpg)
Skirted baffle conveyor belts are a special type o…
.jpg)
Polyurethane (PU) conveyor belts possess numerous …
The safety of conveyor belt materials in the food …
Lightweight conveyor belts are a type of conveyor …
